Project Overview & Philosophy
This project is a collection of practical solutions to common household problems, all brought to life through 3D printing. Instead of discarding items with small broken parts or searching for expensive and often unavailable replacements, I used CAD modeling and 3D printing to create custom, durable solutions. This demonstrates a process of identifying a need, reverse engineering existing components, designing a functional replacement in Fusion 360, and fabricating the final part.
I. Part: Replacement Pick-Up Sticks Box Lid
The original wooden box for a vintage Pick-Up Sticks game was missing its lid. To keep the game pieces contained and complete the set, I designed and printed a new, perfectly fitting sliding lid.
- Problem: The original lid was lost.
- Process: I measured the internal grooves and dimensions of the wooden box. Using these measurements, I modeled a new lid in Fusion 360, adding a small handle with raised ridges for better grip.
- Outcome: The 3D printed lid slides smoothly into the box, securing the contents and restoring the game to a fully functional and storable state.
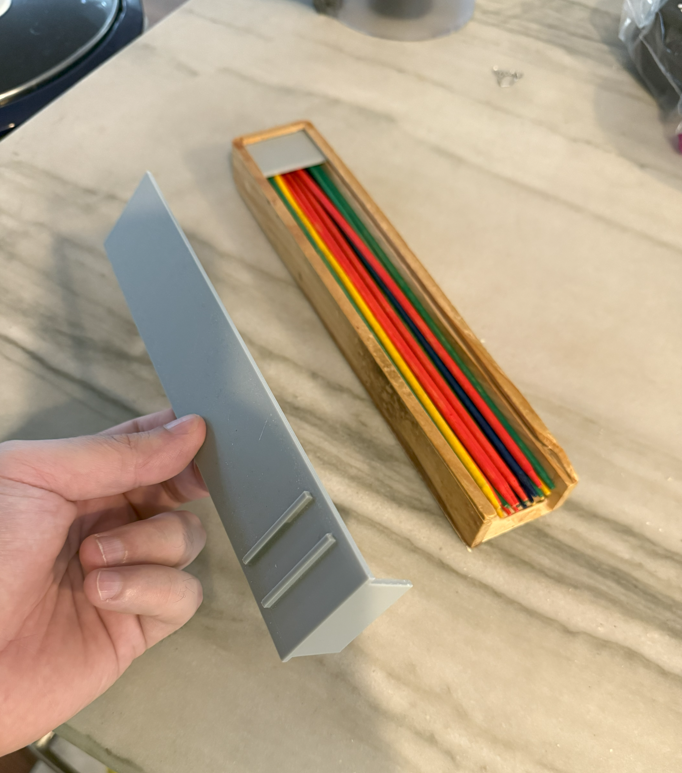
The custom-designed lid fits precisely into the original wooden box.
Video Demonstration
A video showcasing the fit and function of the 3D printed Pick-Up Sticks lid.
II. Part: Dual Dimmer Switch Knob
The plastic knob on a dual-slider fan and light dimmer switch broke at its mounting point, a common point of failure for such components.
- Problem: The original knob for the “Light” slider snapped, making it difficult to operate.
- Process: I carefully removed the remaining piece and measured the intricate internal clip mechanism and the external dimensions. The part was then replicated in CAD, ensuring the new design would securely clip onto the switch’s metal slider.
- Outcome: The replacement knob was printed and installed, perfectly matching the function of the original and restoring full usability to the light switch.
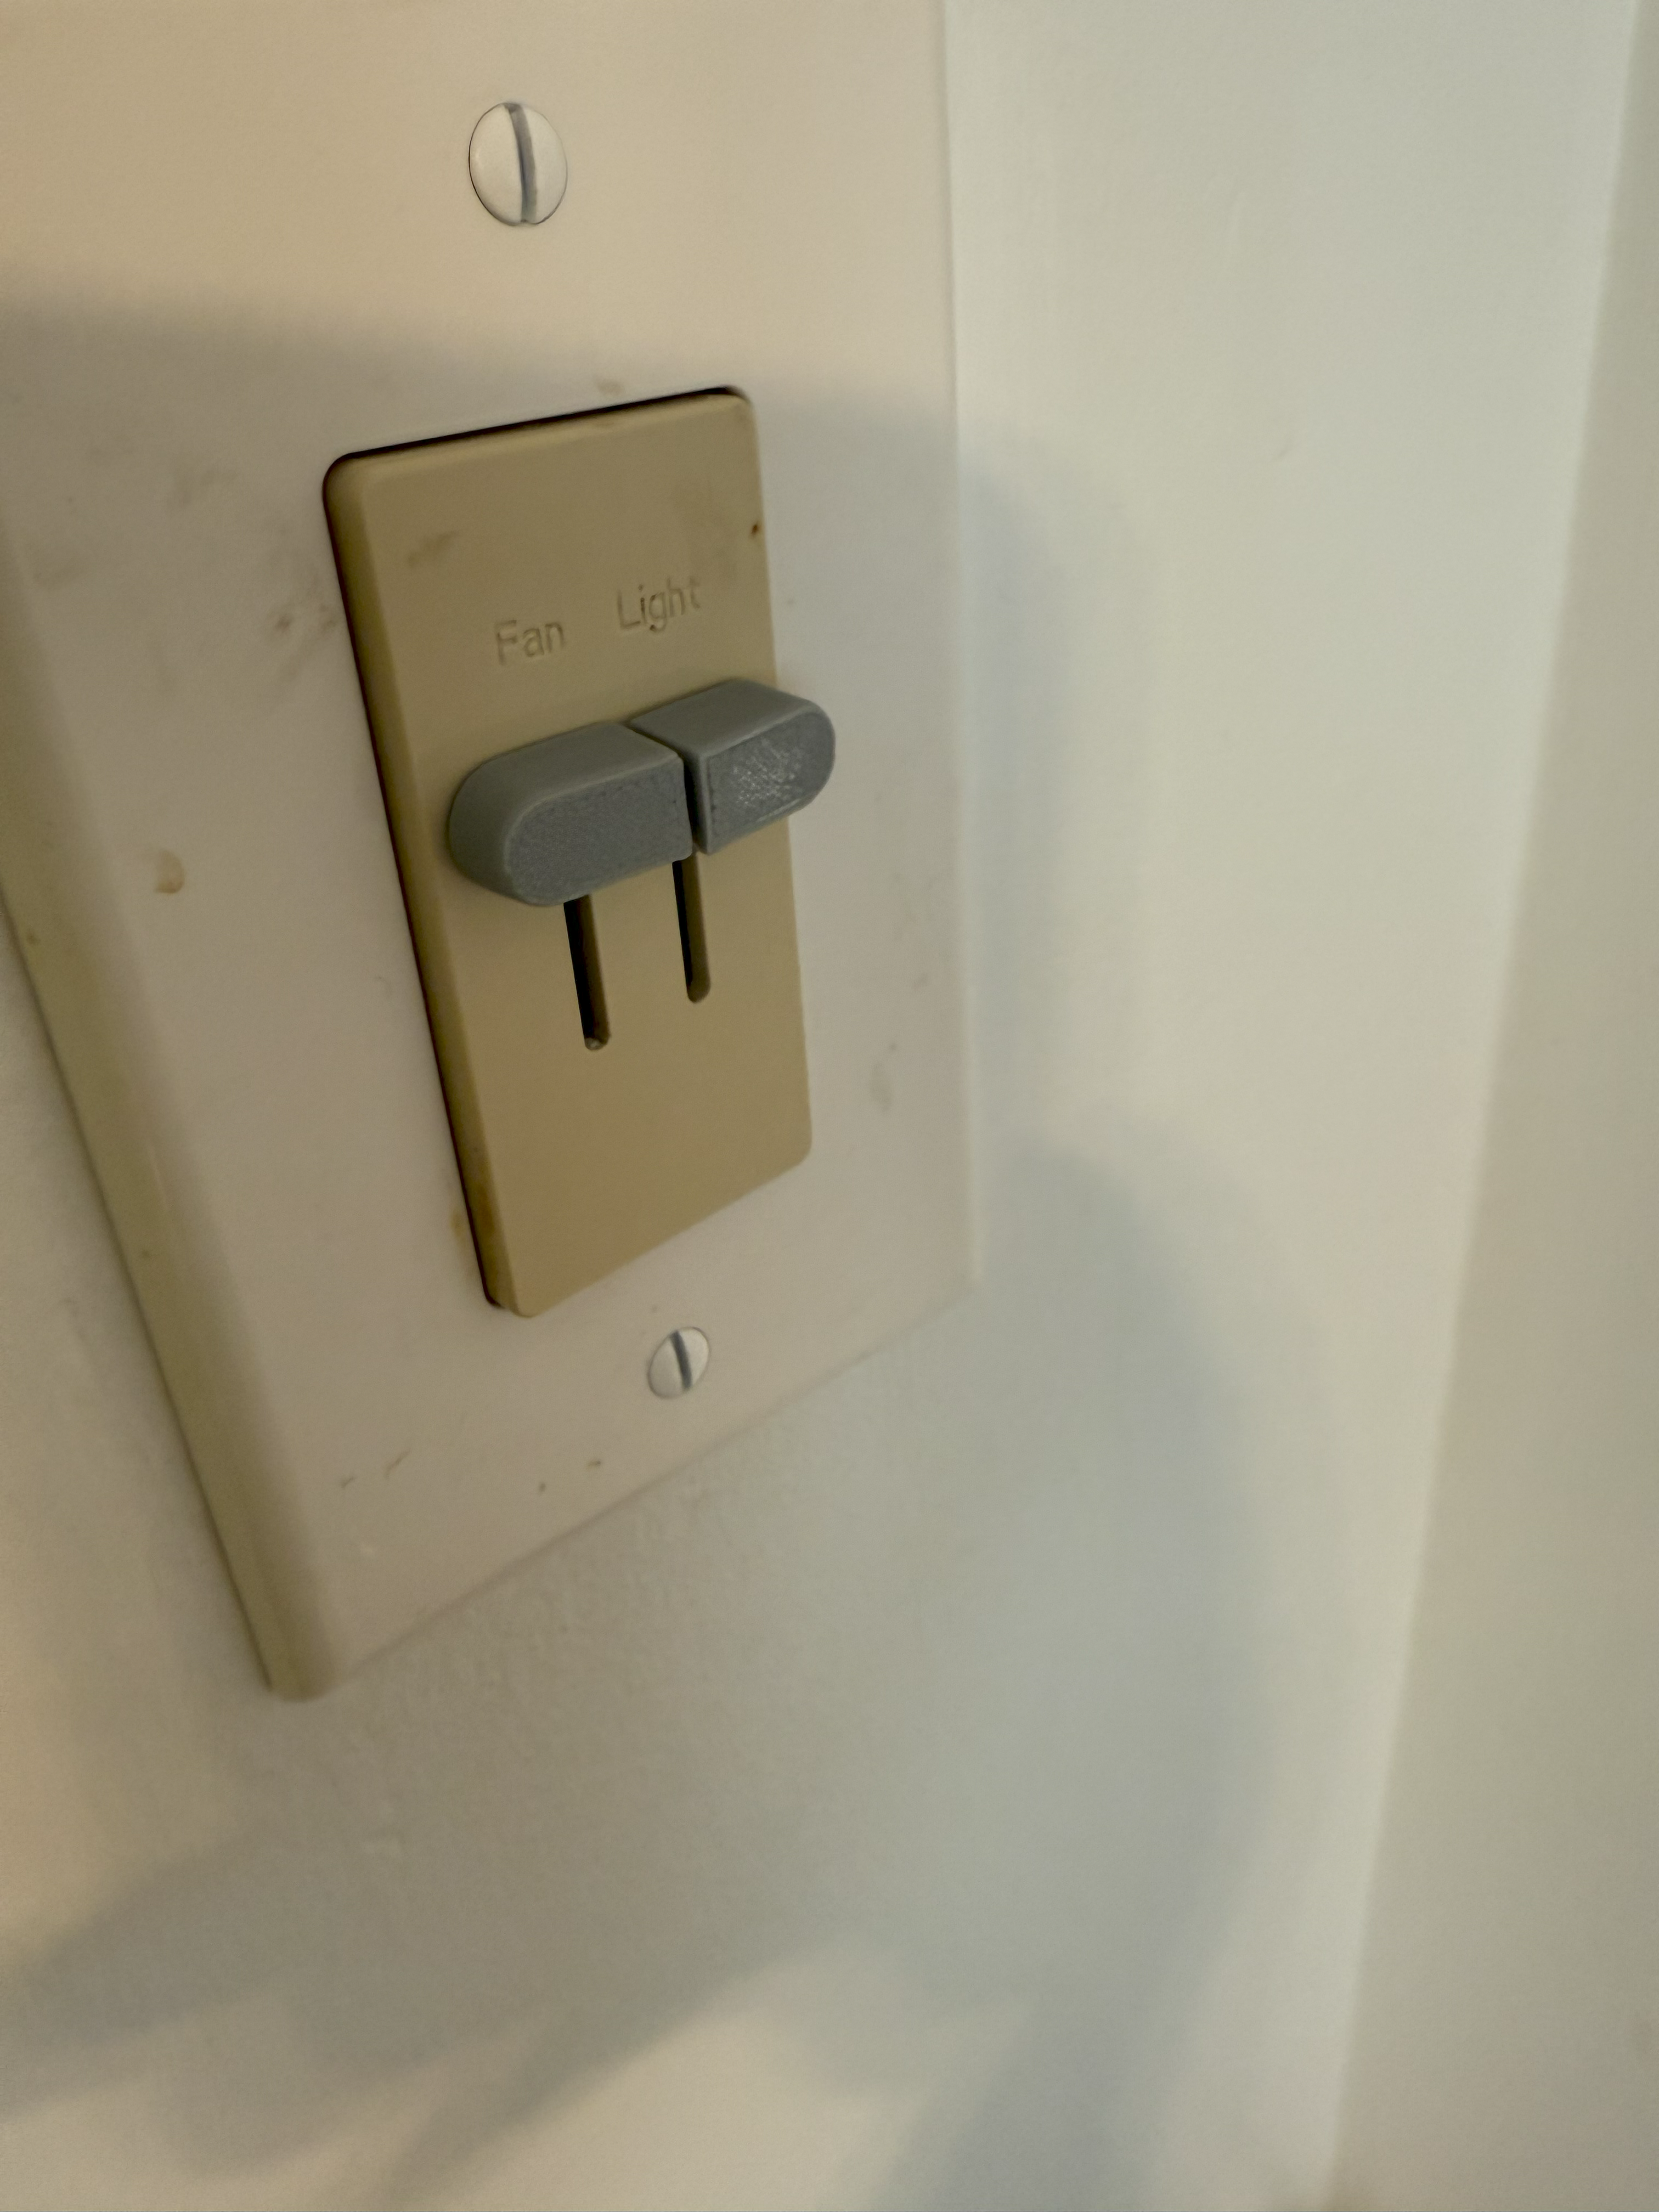
The new, 3D printed knob installed on the dimmer switch, next to the original knob.
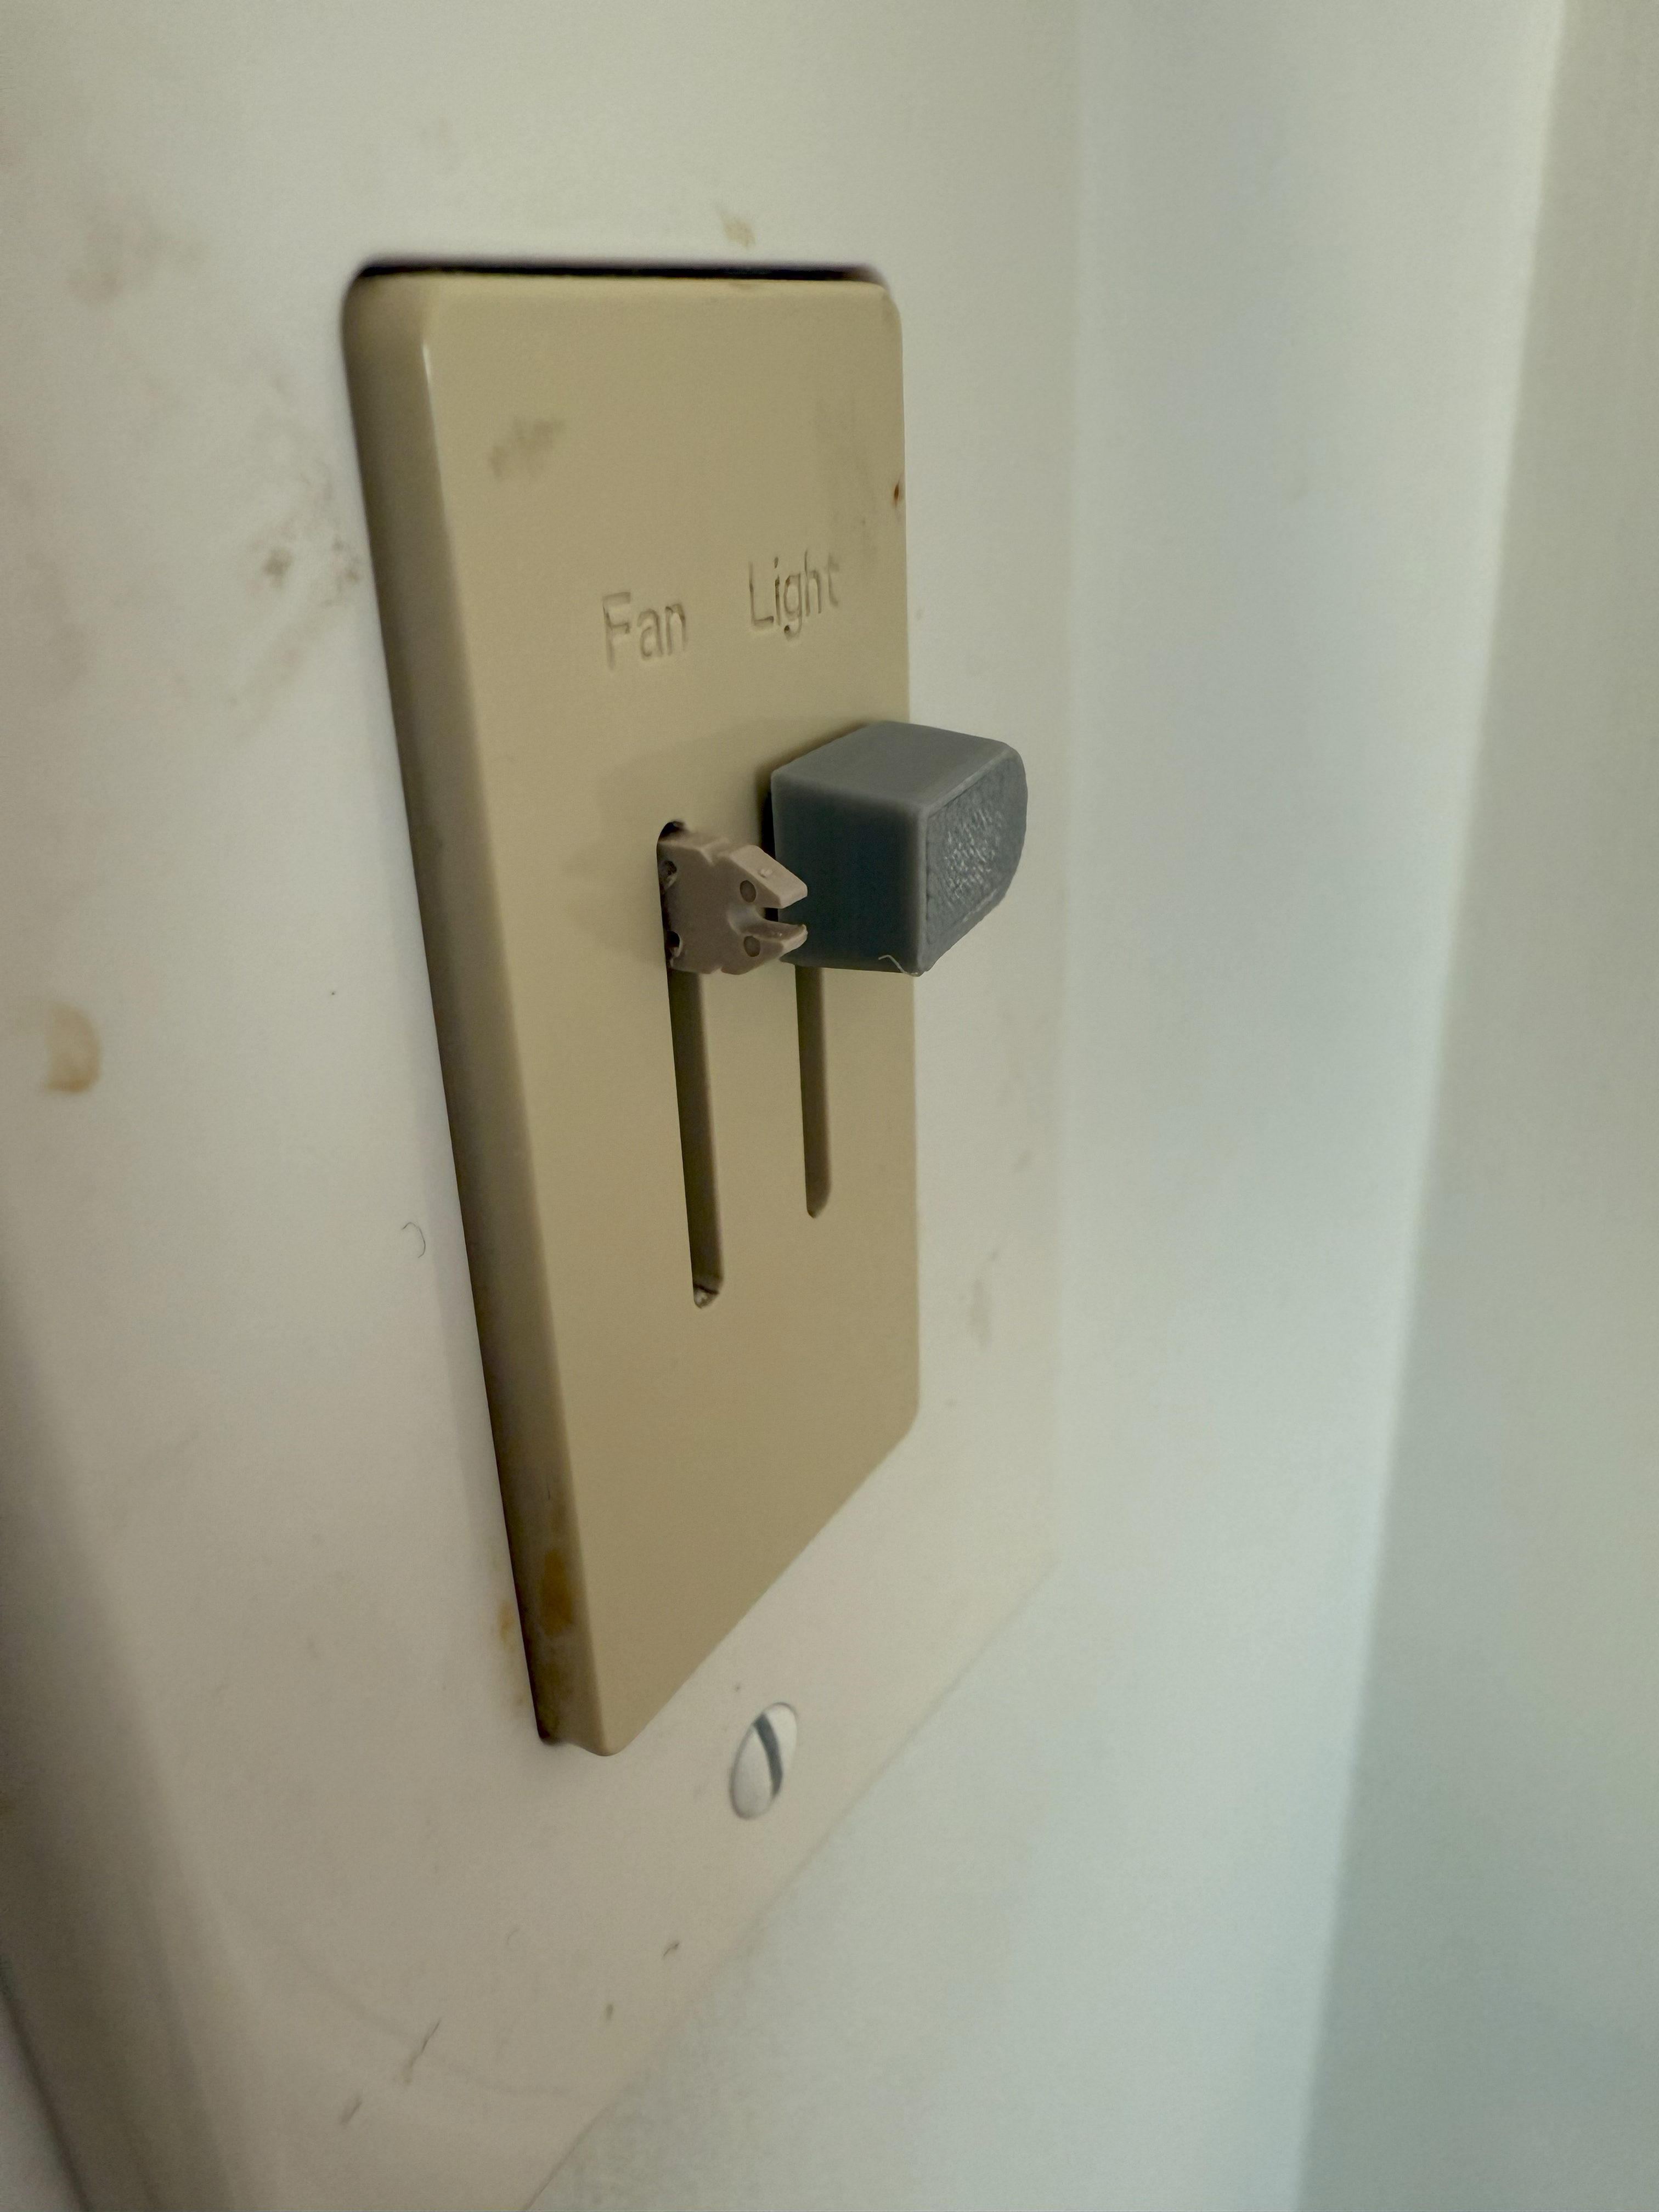
The broken original knob, revealing the small plastic clip that failed.
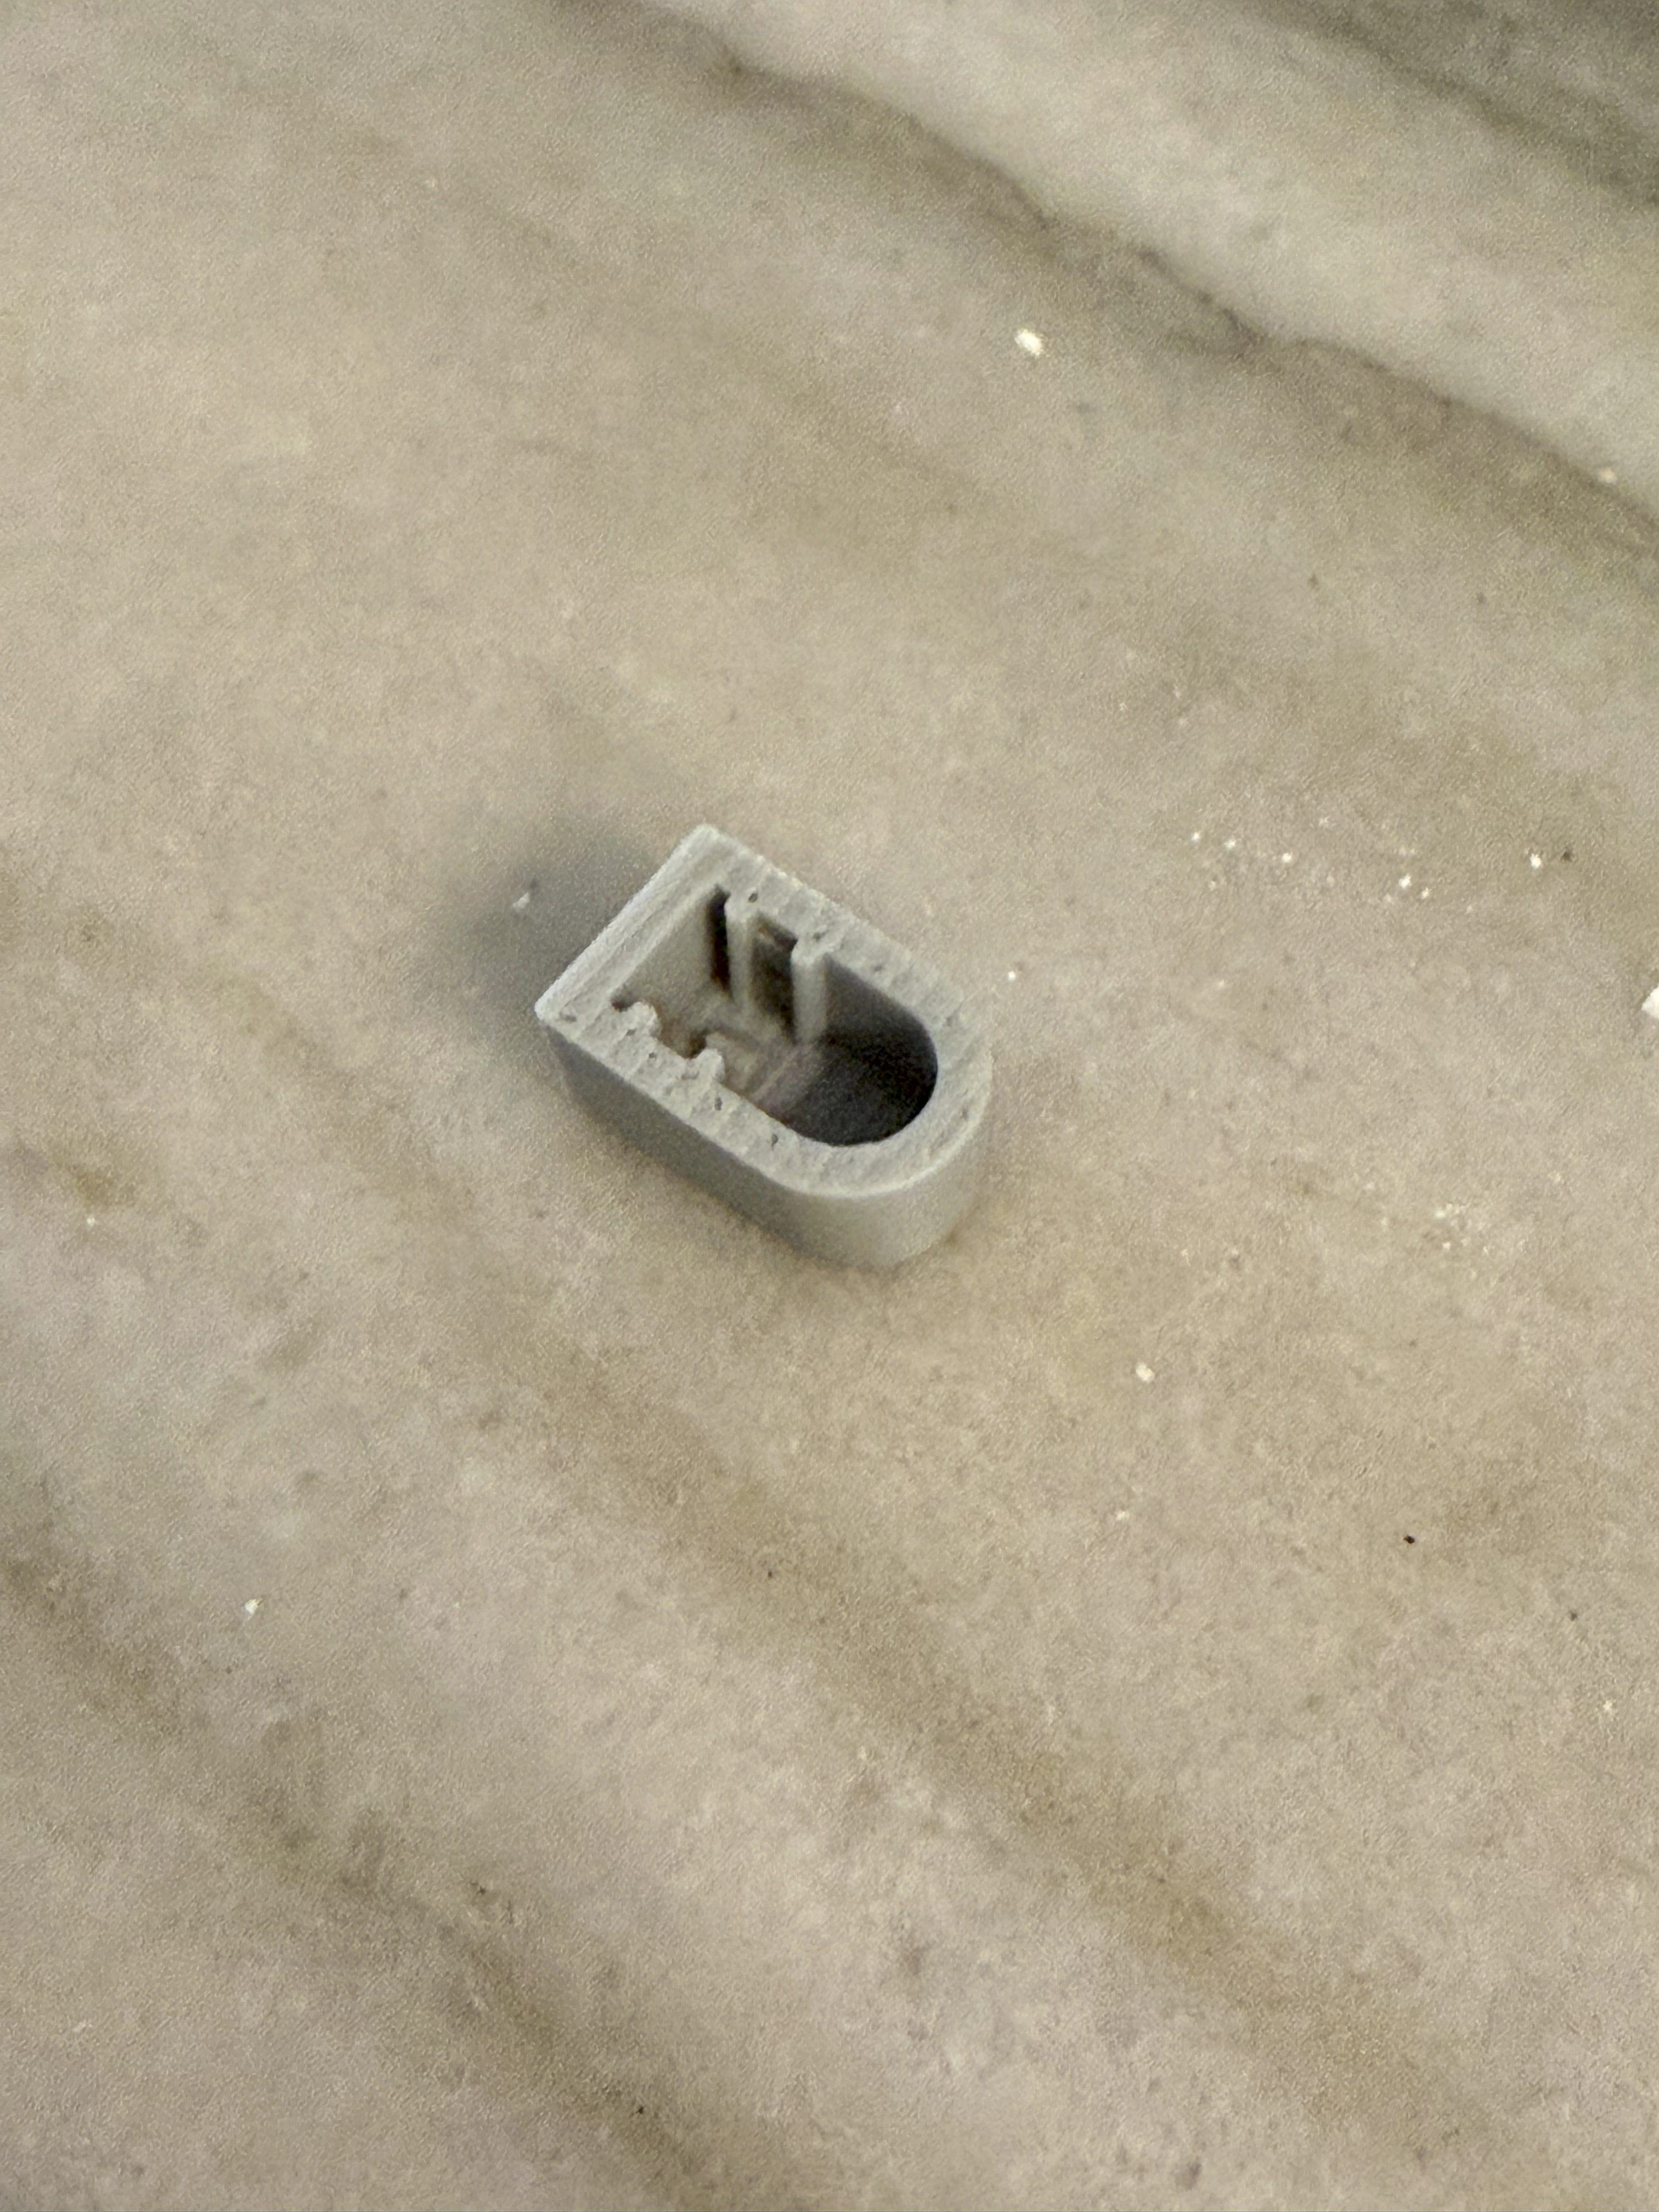
A detailed view of the 3D printed replacement knob, showing the replicated internal structure.
III. Part: Replacement Printer Tray Extension
The paper output tray extension on an office printer snapped off. This small but essential part prevents printed pages from falling to the floor.
- Problem: The small plastic tabs that held the tray extension in place broke.
- Process: I modeled a complete replacement for the broken piece. The design was based on the dimensions of the main tray and the broken part, with reinforced tabs to improve durability and prevent future failure.
- Outcome: The new tray extension clicks into place and functions identically to the original, providing a simple and effective repair.
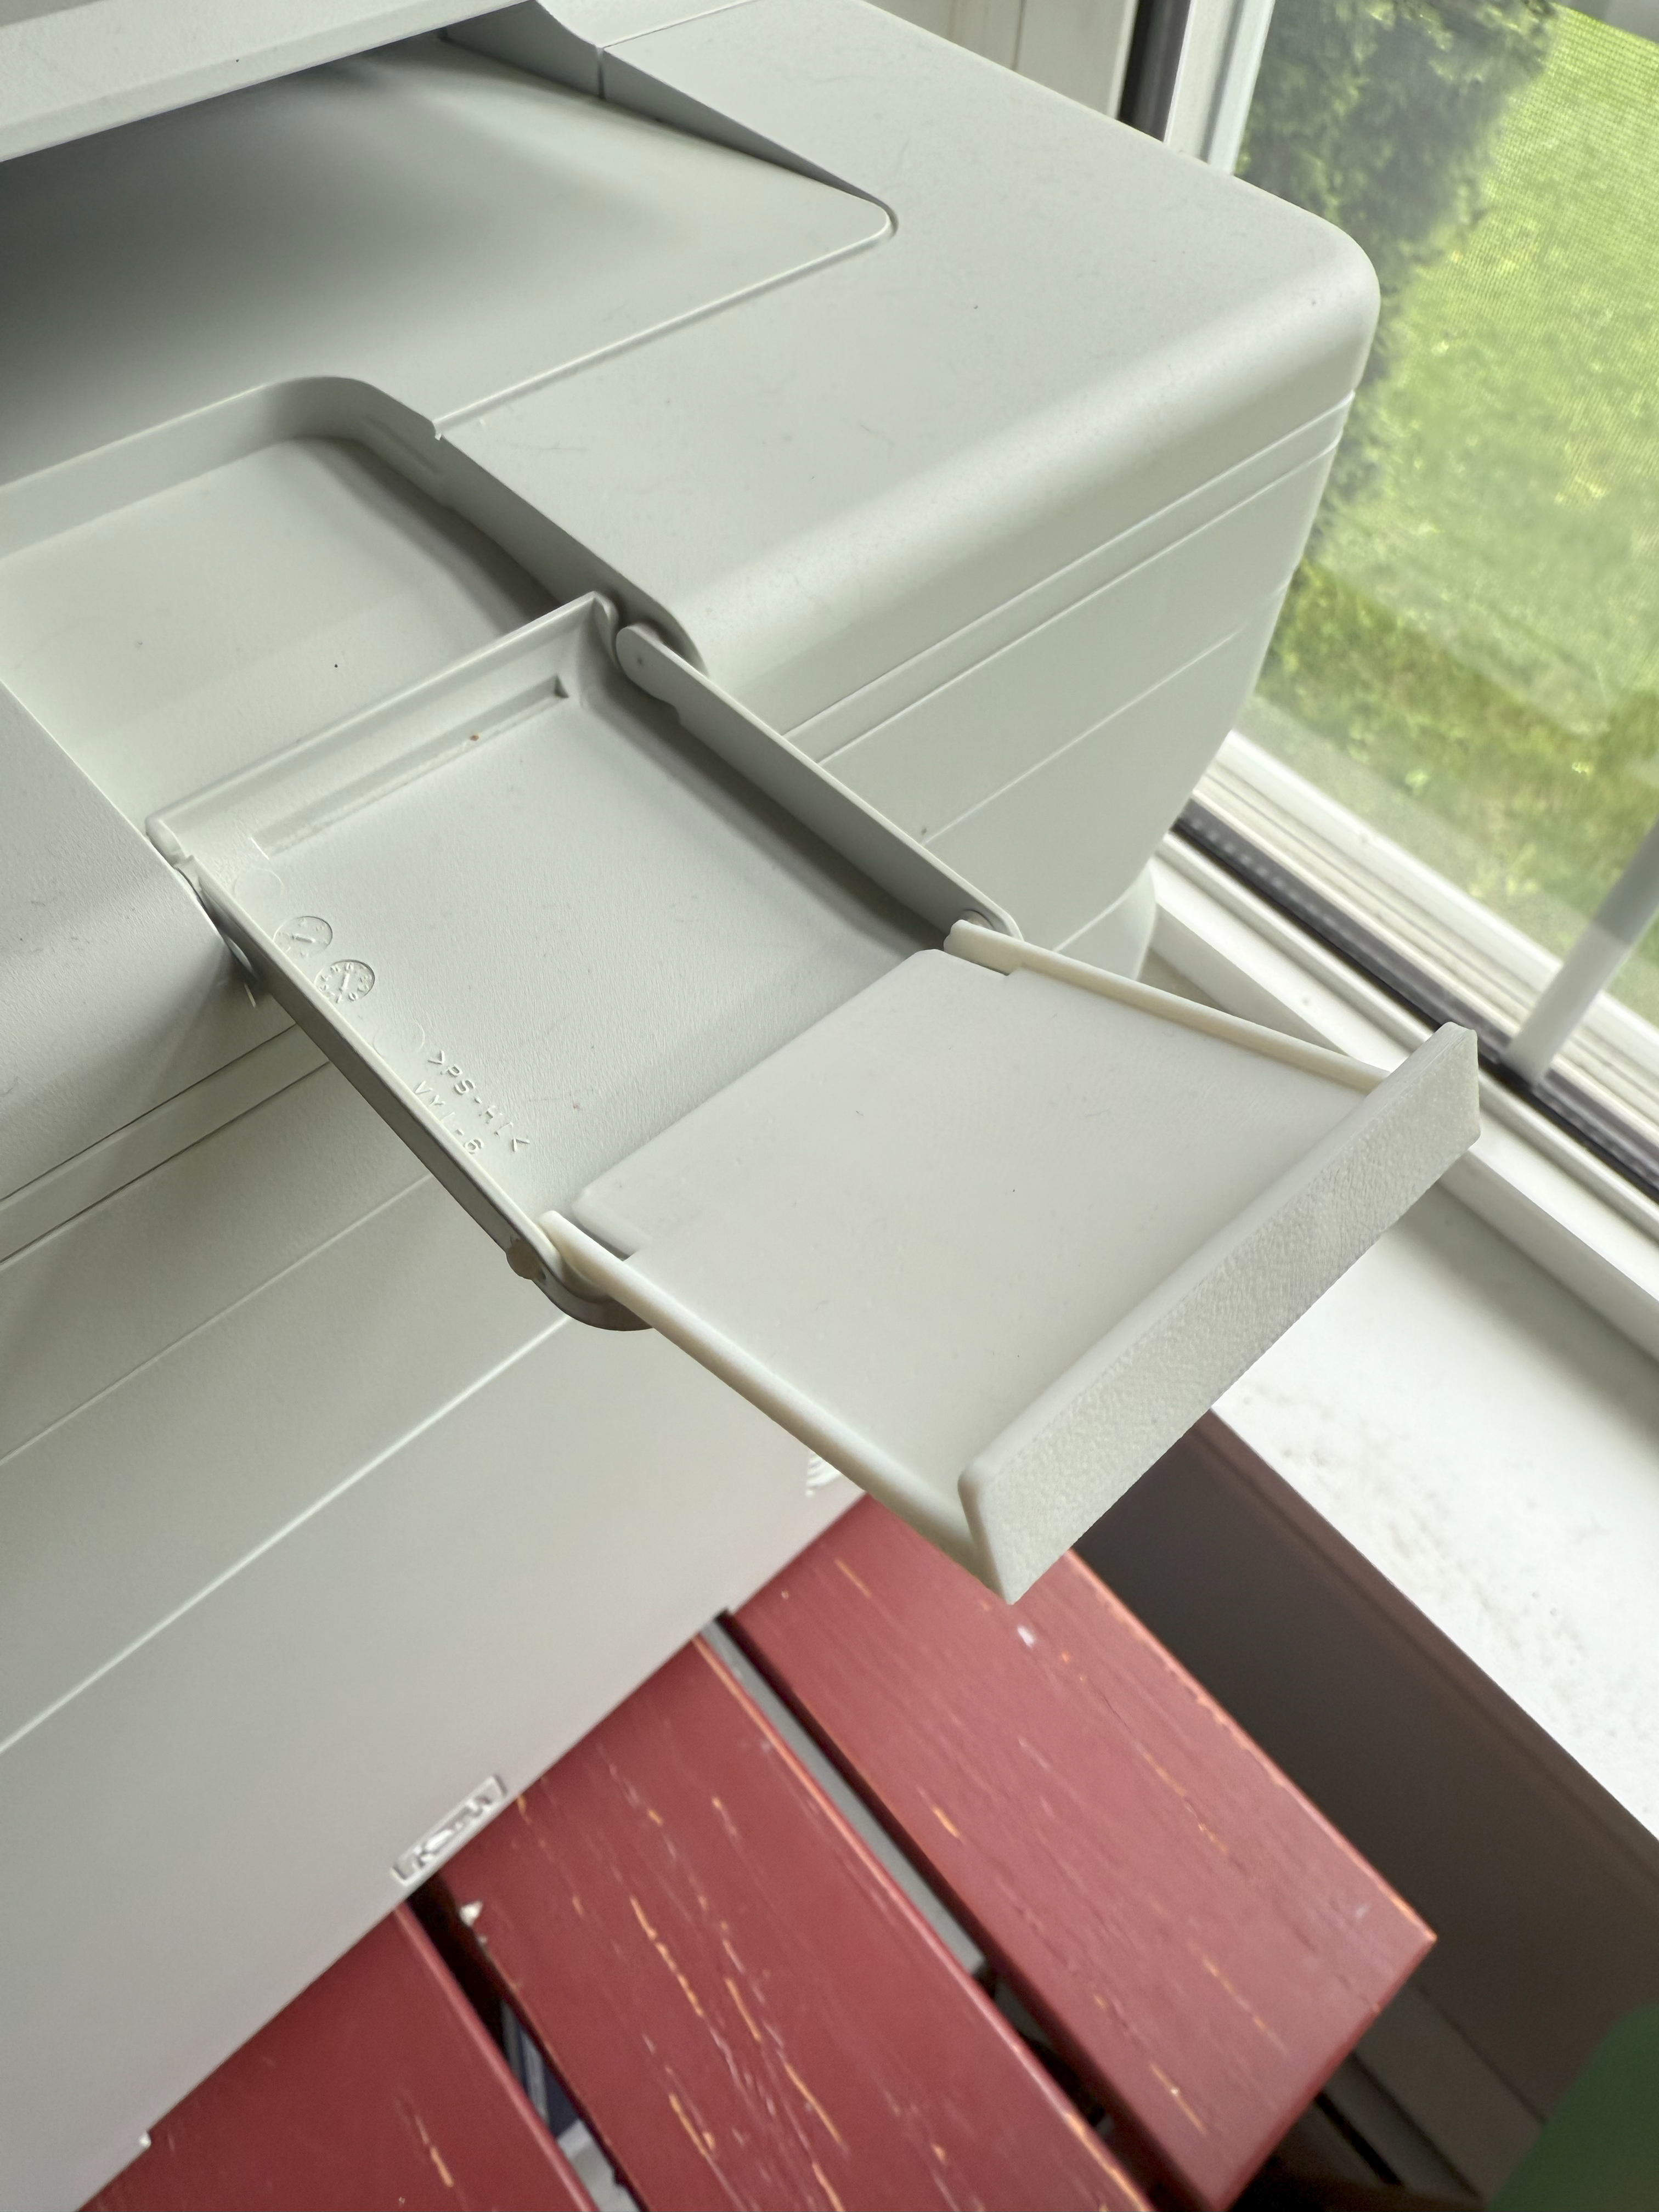
The 3D printed replacement tray extension installed in the printer’s output tray.
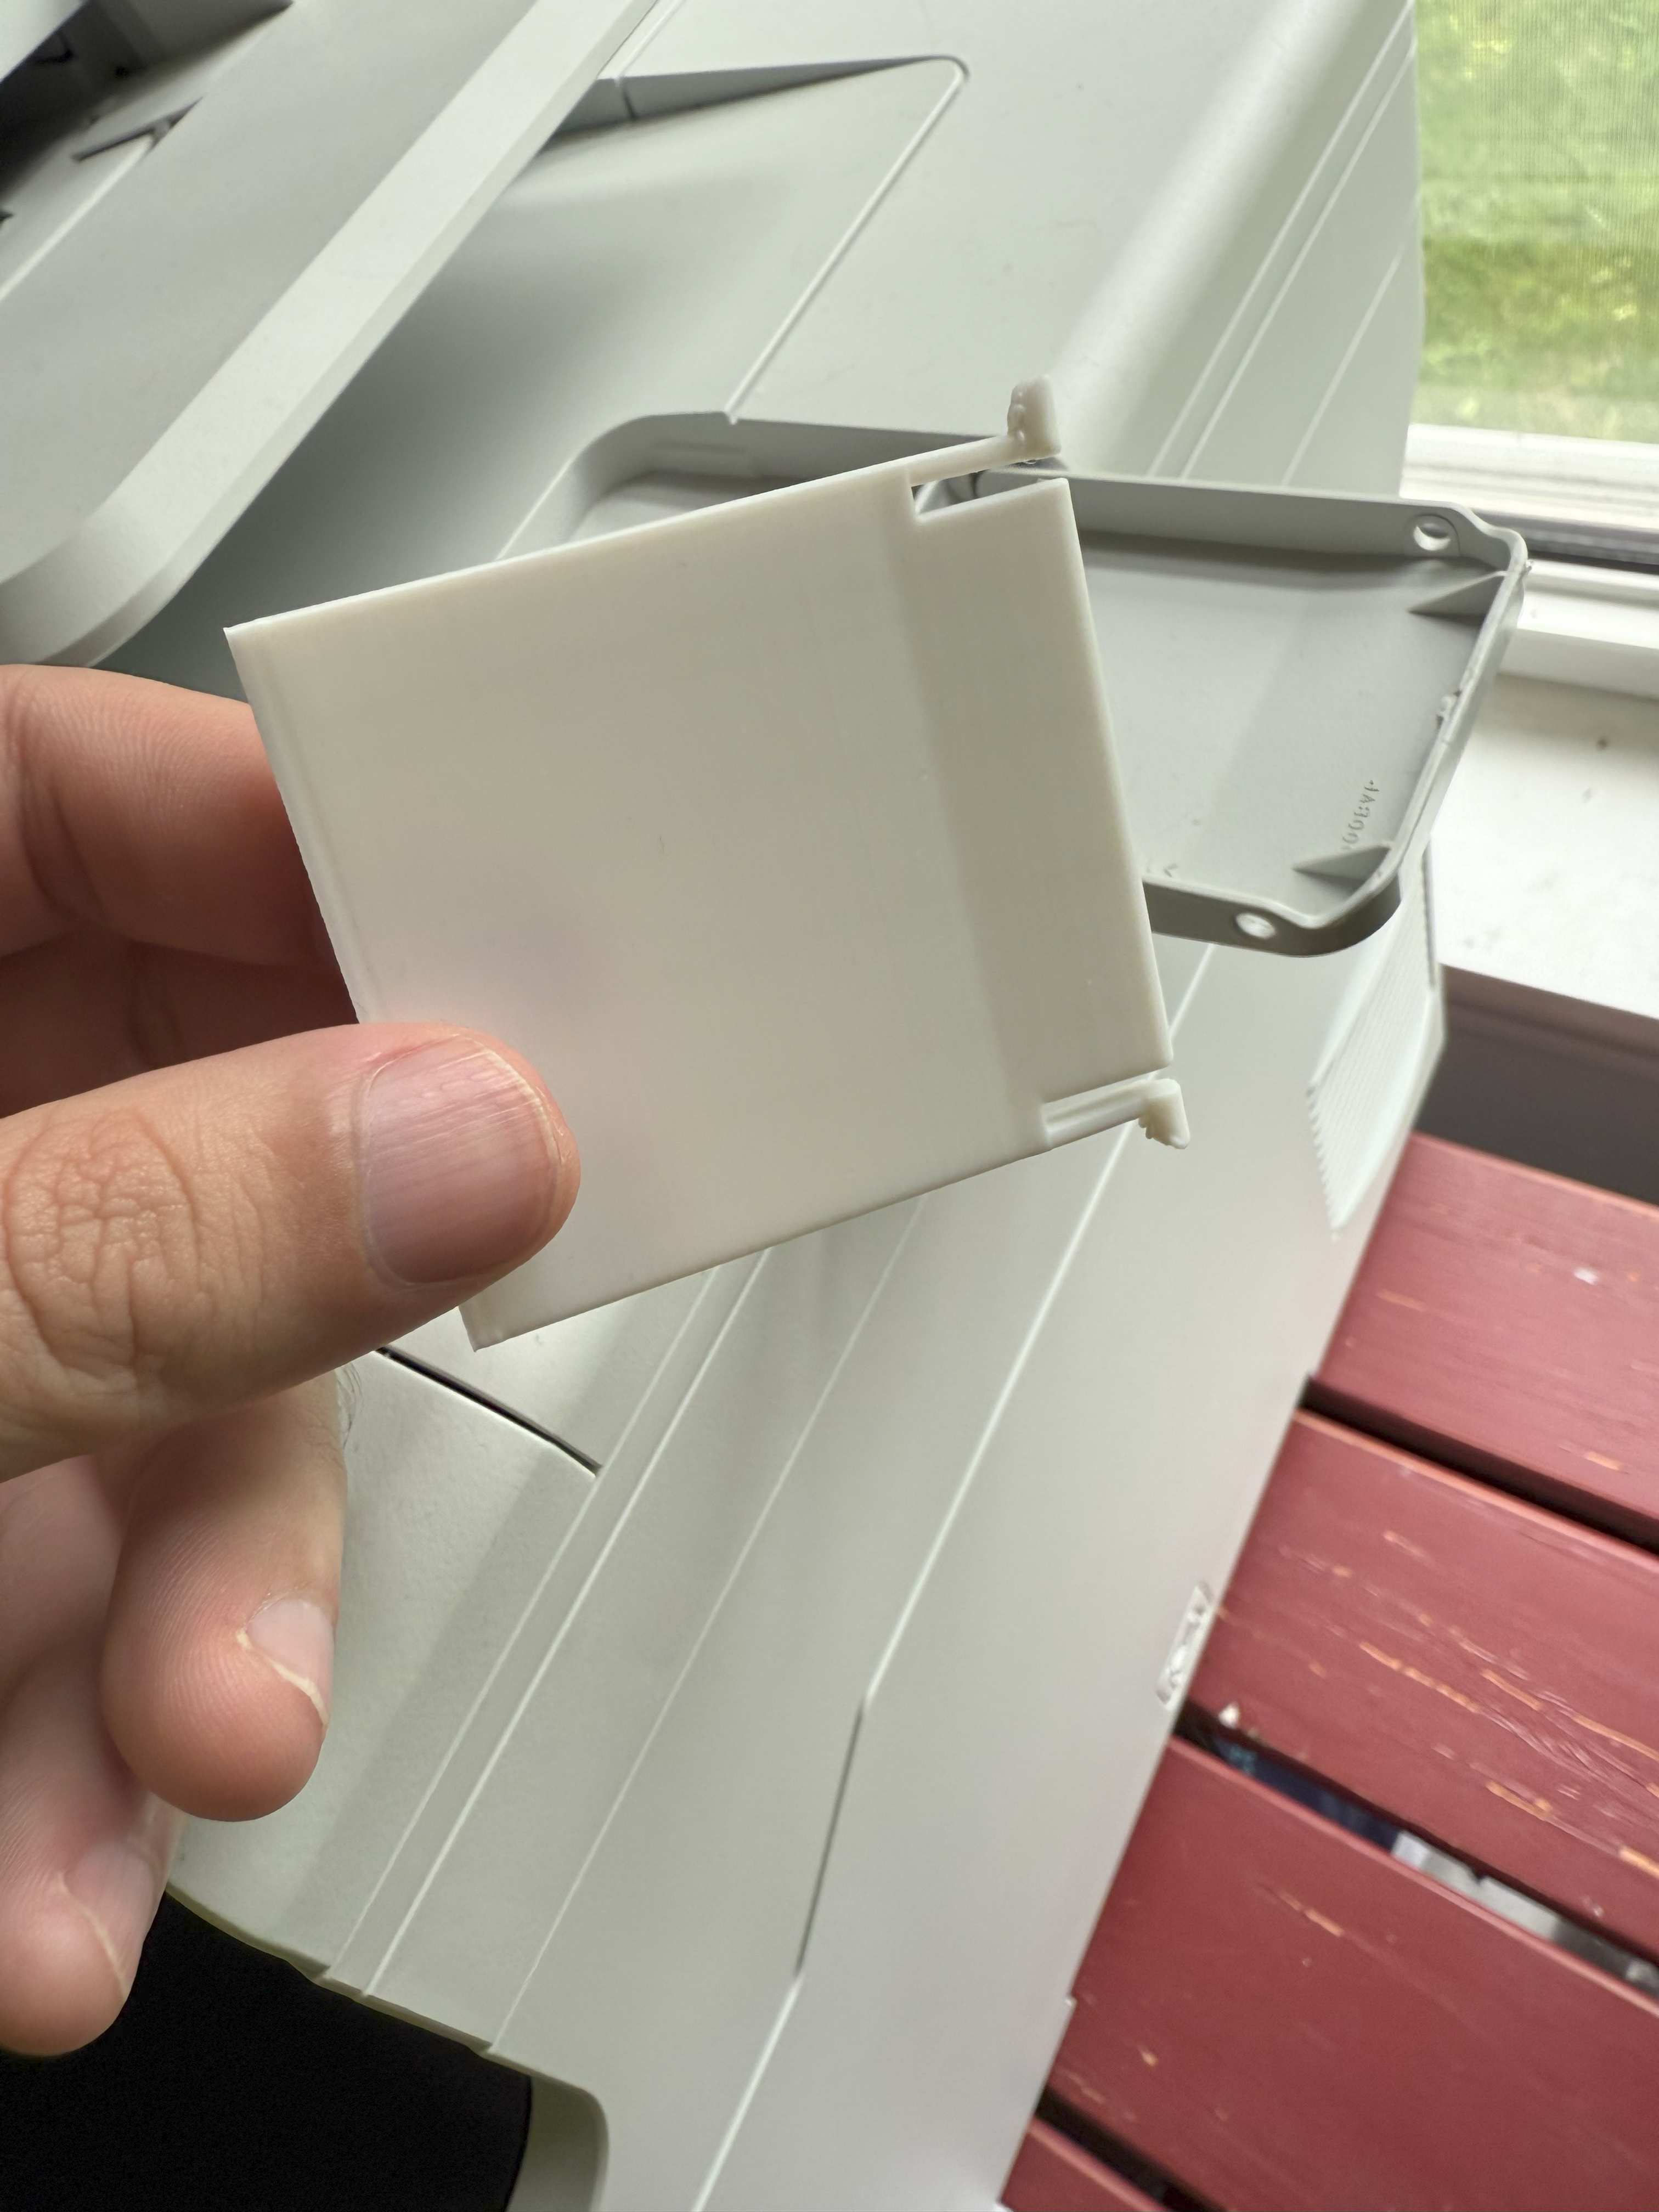
The replacement part, showing the newly designed mounting tabs.
IV. Part: Temporary Faucet Handle
The handle on a bathroom faucet broke, and a replacement part was on order. In the meantime, the faucet was unusable.
- Problem: A broken handle made the faucet inoperable while waiting for a replacement part.
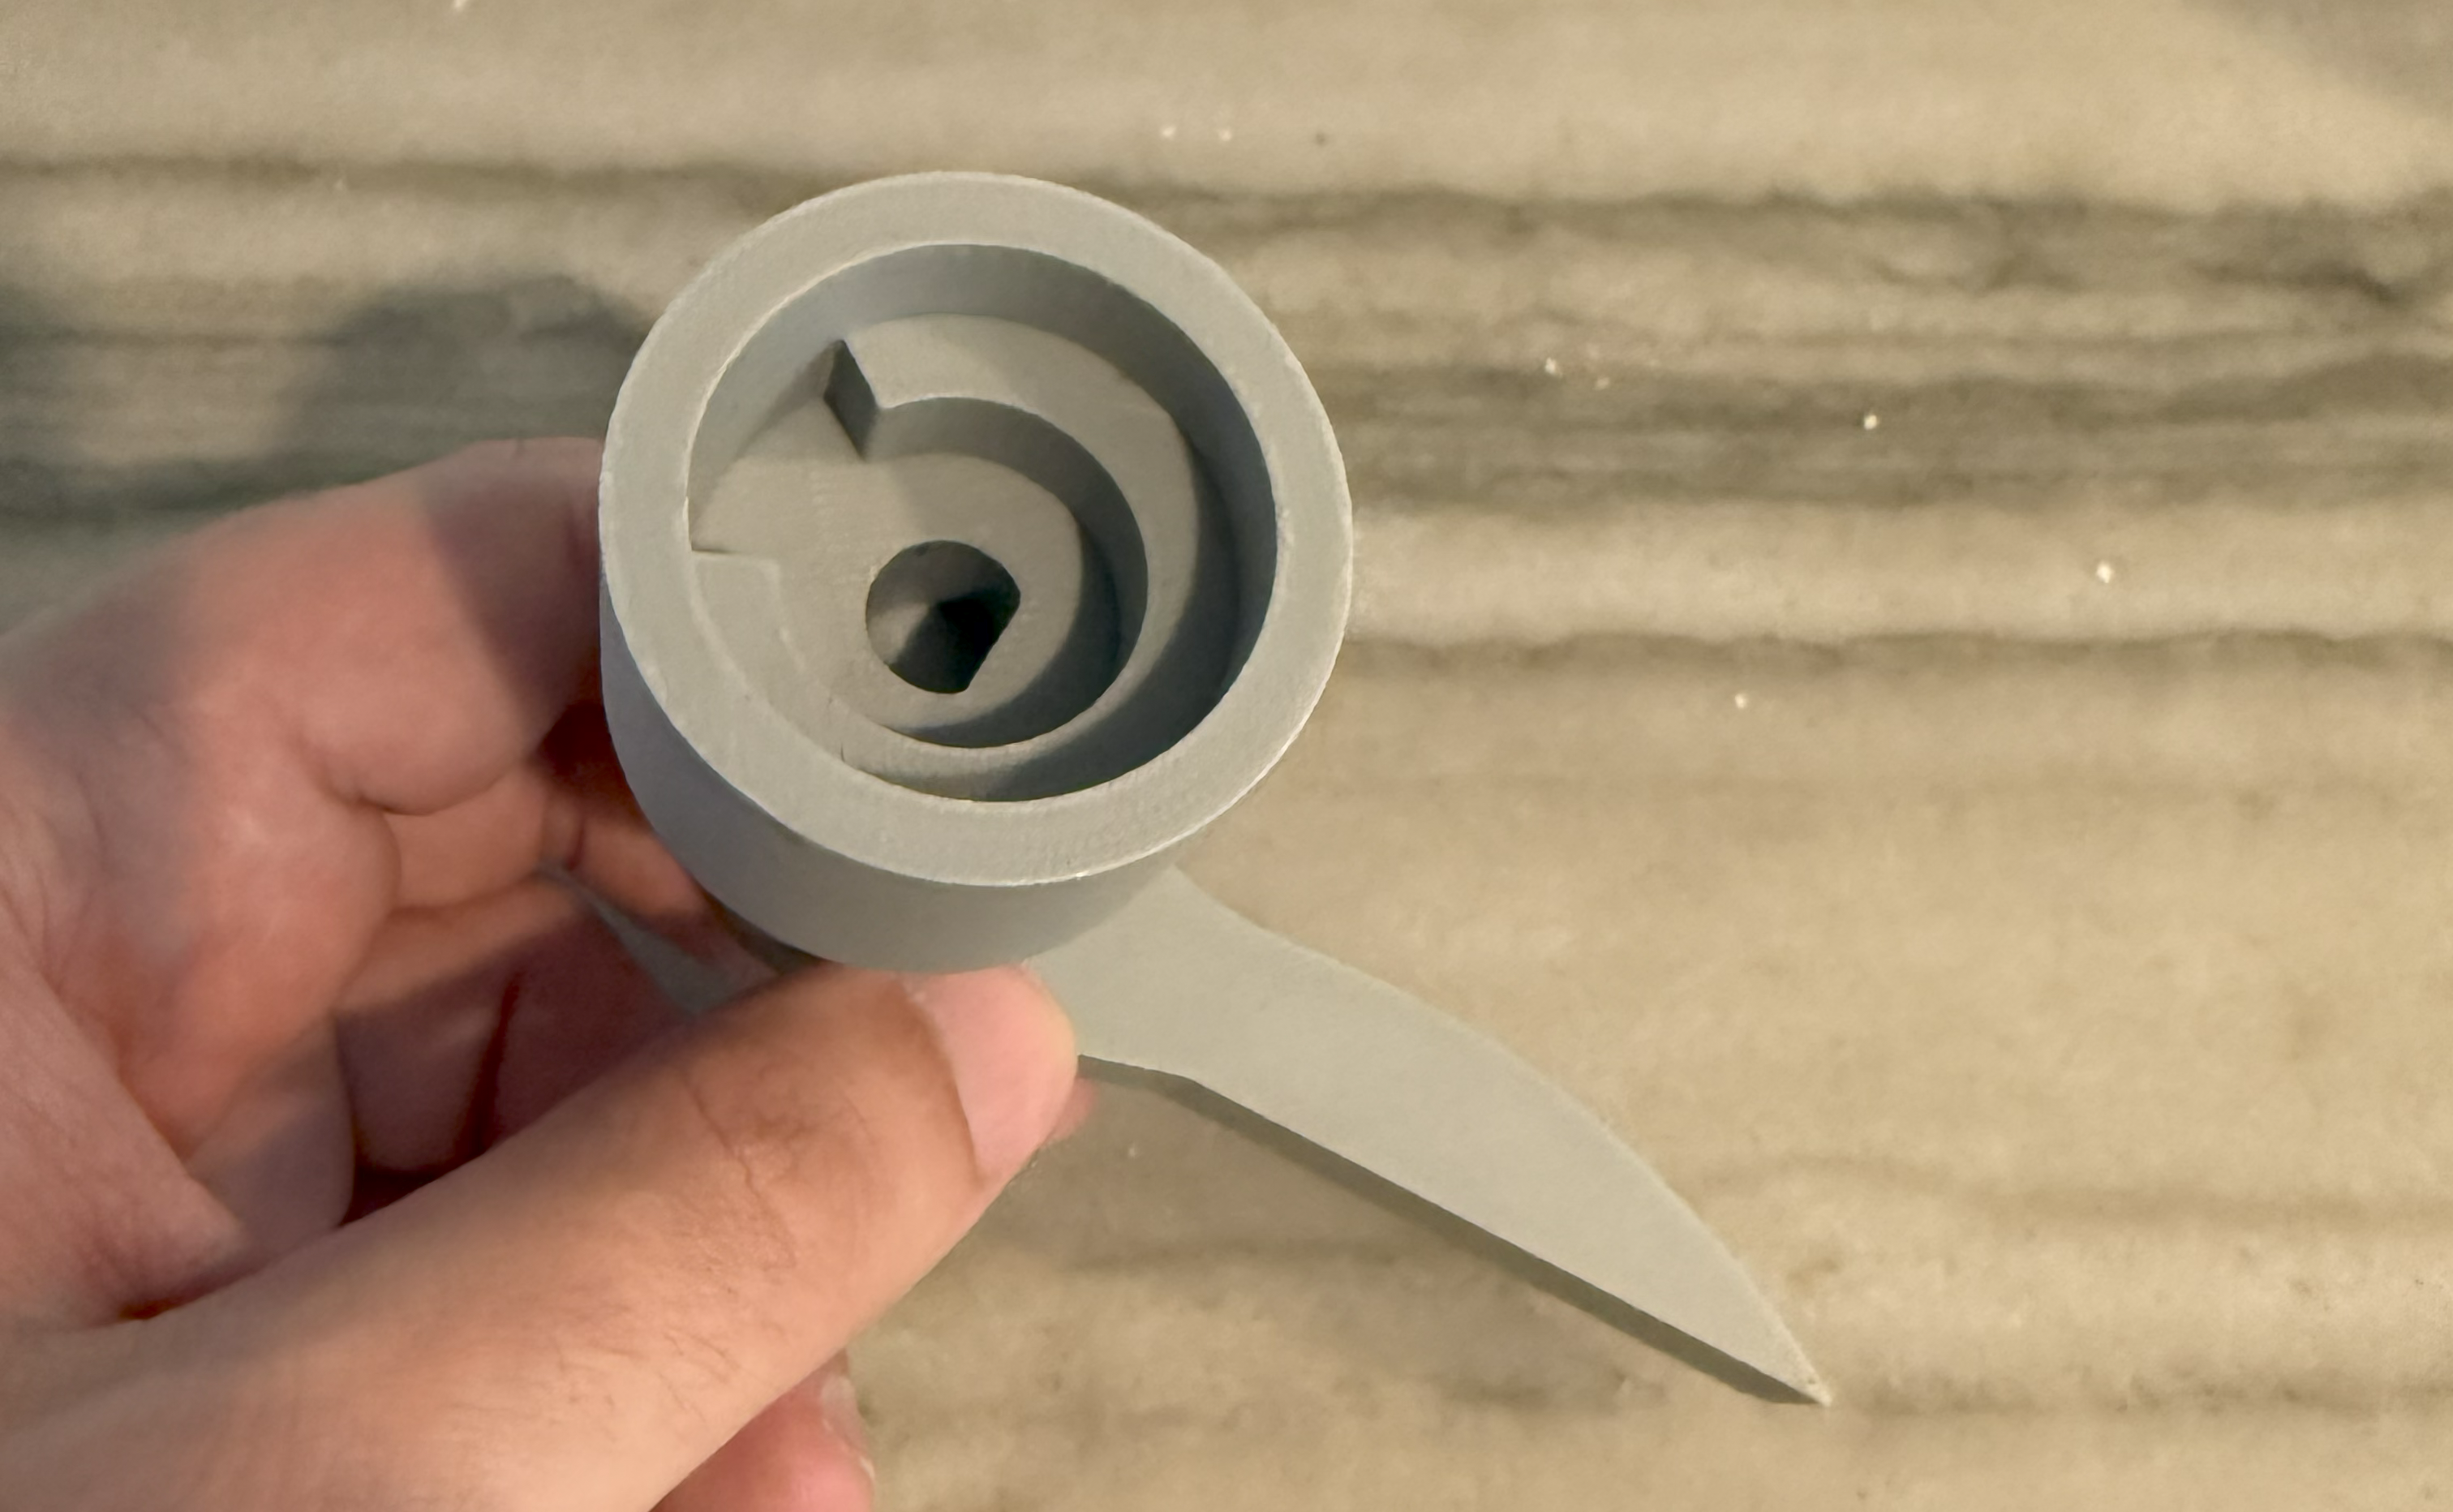
- Process: To create a functional stopgap, I reverse-engineered the mounting interface from the broken part. The geometry, including the specific spline pattern for the valve stem, was modeled in Fusion 360 to create a temporary handle.
- Outcome: The 3D printed handle provided a temporary, fully functional solution, allowing the faucet to be used while waiting for the official replacement part to arrive.
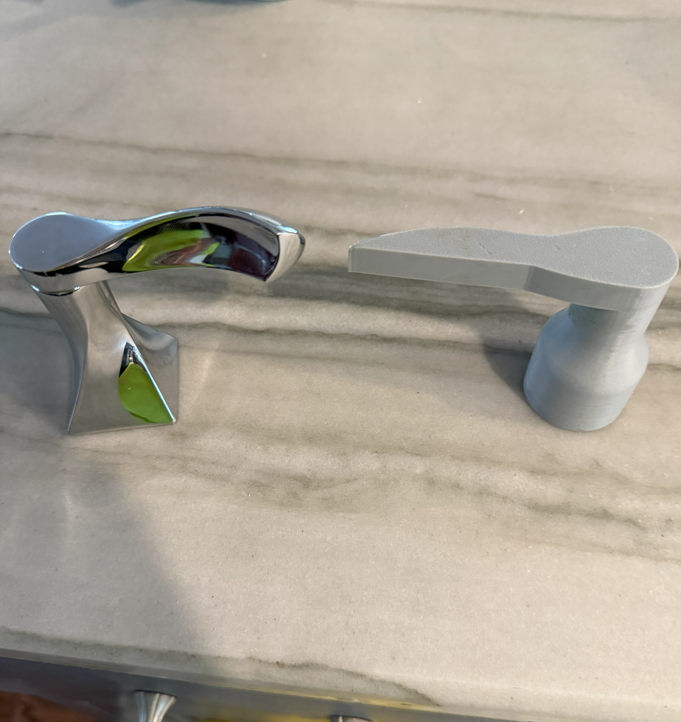
The original chrome faucet handle (left) next to the 3D printed temporary replacement (right).
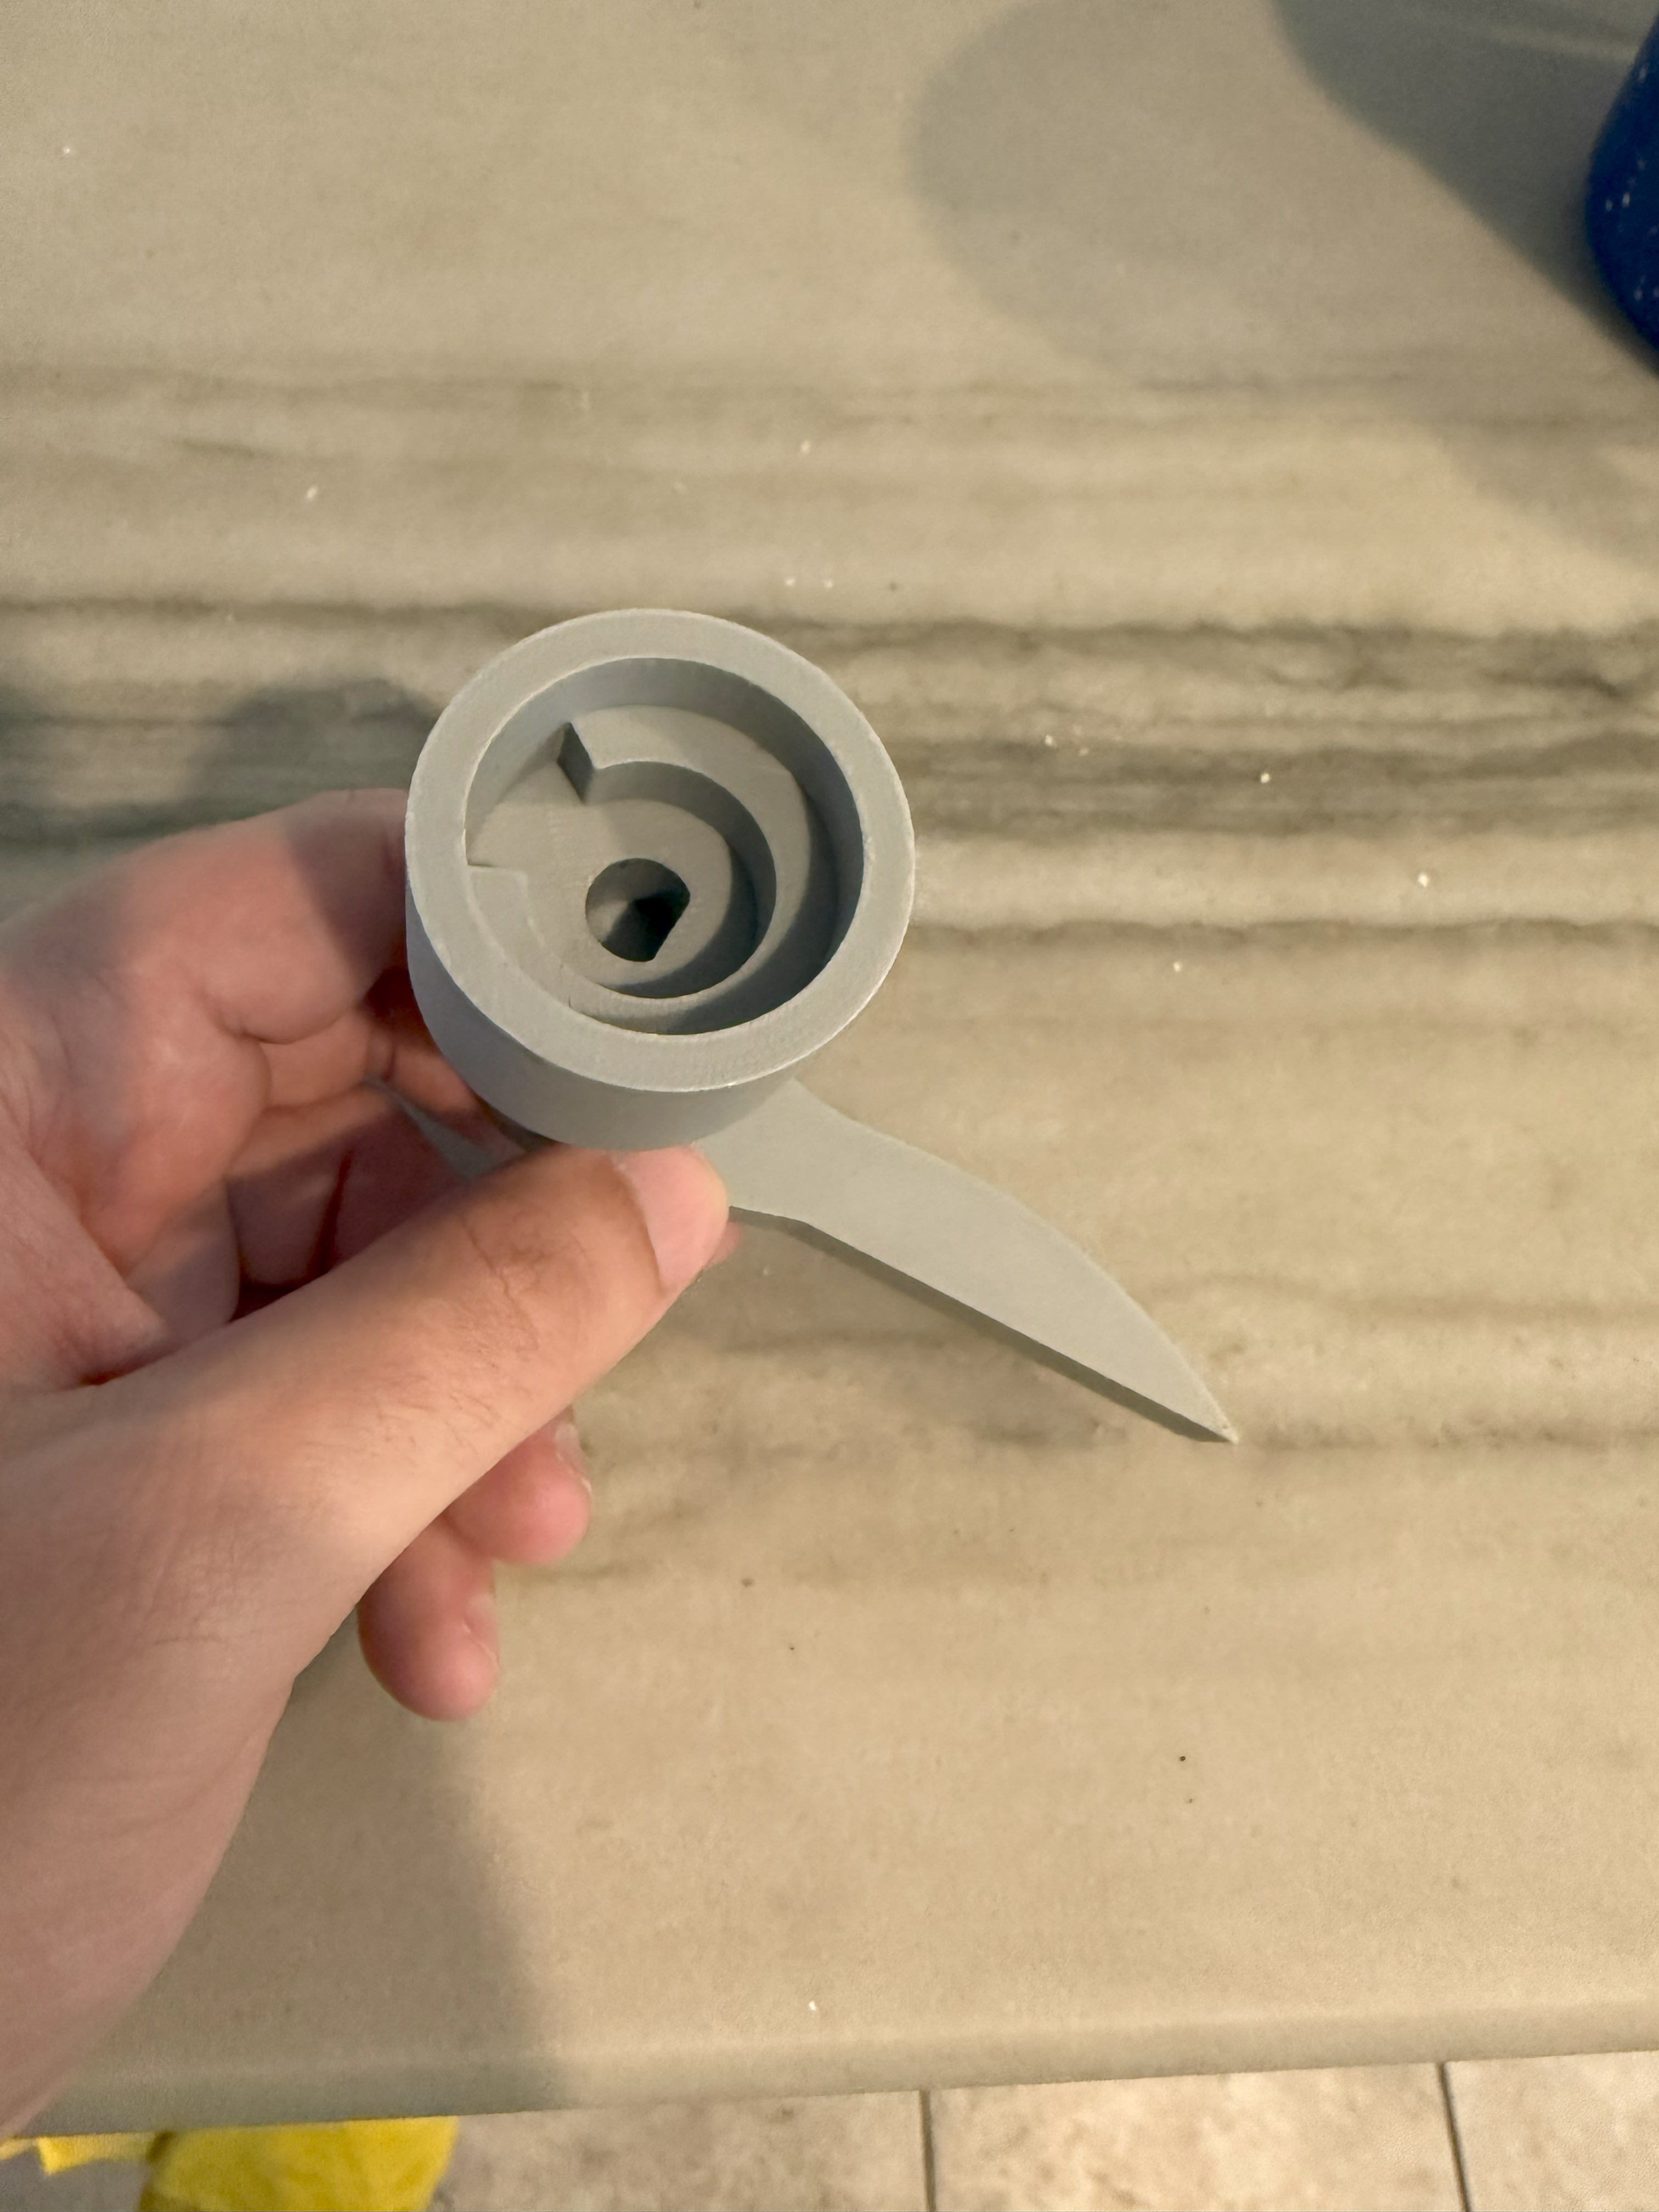
A view of the handle’s underside, detailing the custom-modeled internal geometry to fit the faucet’s valve stem.
V. Part: Lock Battery Cover
The battery cover for an electronic door lock was missing, leaving the batteries and internal components exposed.
- Problem: The original battery cover for the lock was lost.
- Process: I measured the opening on the lock’s interior housing and designed a simple, press-fit cover in Fusion 360.
- Outcome: The printed cover fits securely into the lock housing, protecting the batteries and electronics while restoring the lock’s finished appearance.

The custom 3D printed cover installed on the interior side of the electronic door lock.
VI. Conclusion and Key Skills Demonstrated
This collection of personal projects highlights the versatility of desktop 3D printing as a powerful tool for on-demand manufacturing and practical problem-solving. It demonstrates the ability to quickly move from a real-world problem to a custom-fabricated solution.
Key Skills Demonstrated:
- Reverse Engineering: Accurately measuring and analyzing existing or broken parts to recreate them digitally.
- CAD for 3D Printing: Proficient use of Fusion 360 to model parts with precise dimensions, complex curves, and functional mechanical interfaces.
- Iterative Design & Prototyping: The ability to design, print, test, and refine a part to achieve a perfect fit and function.
- Problem-Solving: Identifying everyday frustrations and engineering simple, effective, and durable solutions.
- FDM 3D Printing: Understanding the principles and limitations of Fused Deposition Modeling to produce strong, functional parts.
- Attention to Detail: Capturing the small but critical features of a part, such as clips, tabs, and internal mounting points, to ensure functionality.